15. Automation Panel
The Automation Panel provides a simple command-line interface to Cytoscape using the Commands API. It allows the user to type commands into Cytoscape and see the results in a Reply Log.
Any app that registers commands will be available through the Automation Panel. Commands are part of the more general Cytoscape Automation feature, which includes multiple ways of scripting Cytoscape execution.
The Automation Panel can be opened from View → Show/Hide Automation Panel.
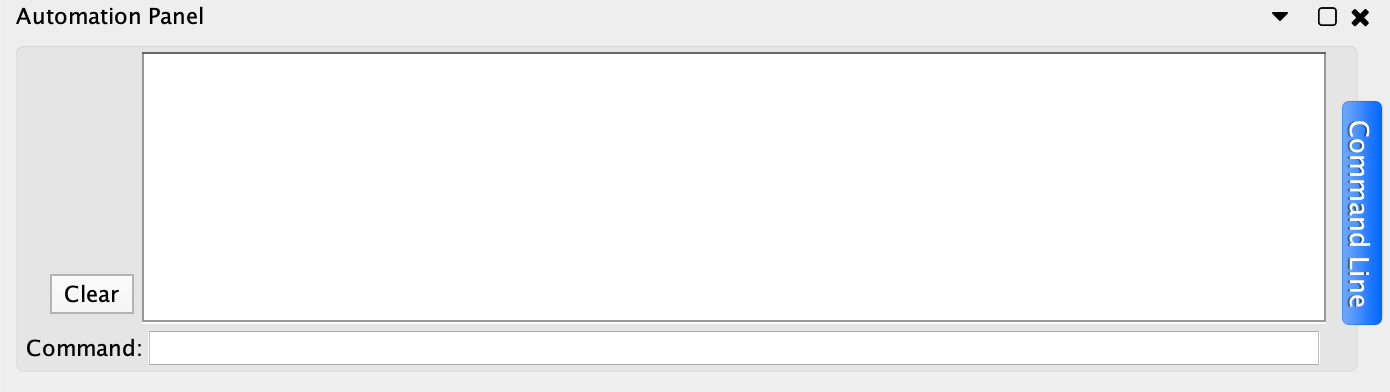 AutomationPanel.png
The Automation Panel can also be used to read and execute script files. Each line in the script file is a command that is sent to a app. Script files may be entered on the Cytoscape command line using the “-S” flag to Cytoscape, through the Tools → Run Script File… menu item, or through Tools → Execute Command File menu item.
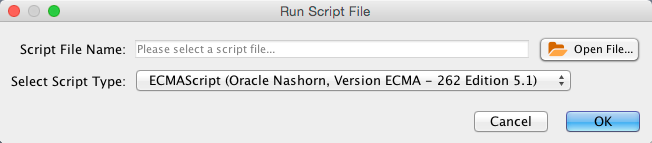 RunScriptCommands.png
Cytoscape commands consist of three parts: a command class, or namespace; a command within that namespace; and a series of arguments or options provided as a series of name=value pairs. For example, to import an XGMML format file from the Command Line Dialog or a command script, you would use:
network import file filePath="path-to-file"
where network is the namespace, import file is the command, and there is only one argument: filePath=”path-to-file”. If there were more arguments they would appear on the same line separated by spaces.
The Command Tool also uses the Command API to provide help. “help” by itself will list all of the command classes (or namespaces) and “help “ followed by a namespace will list all of the commands supported by that namespace. Details of a specific command are available by typing “help “ followed by the namespace and command (e.g. “help layout force-directed”). The Command Tool registers the “command” namespace and supports a single command: run, which takes a file argument. Here is the help for the command run command from the command namespace:
help command run
       command run file=<File>
Similarly, the help for the “network import file” example from above is:
help network import file
 network import file arguments:
 dataTypeList=<String>: List of column data types ordered by column index
   (e.g. "string,int,long,double,boolean,intlist" or just "s,i,l,d,b,il")
 defaultInteraction=<String>: Default interaction type
 delimiters=<ListMultipleSelection [,,;, ,\t]>: Text Delimiters
 delimitersForDataList=<ListSingleSelection (\||\|/|,)>:
   Text Delimiters for data list type
 file=<File>: Data Table file
 firstRowAsColumnNames=true|false: First row used for column names
 indexColumnSourceInteraction=<int>: Column for source interaction
 indexColumnTargetInteraction=<int>: Column for target interaction
 indexColumnTypeInteraction=<int>: Column for interaction type
 NetworkViewRendererList=<ListSingleSelection ()>: Network View Renderer
 RootNetworkList=<ListSingleSelection (-- Create new network collection
   --|Network)>: Network Collection
 startLoadRow=<int>: Start Load Row
 TargetColumnList=<ListSingleSelection ()>: Node Identifier Mapping Column