4. Quick Tour of Cytoscape
This chapter describes the basic layout and mechanics of using Cytoscape. If you would prefer to learn by doing, consider starting with the Basic Expression Analysis Tutorial chapter.
4.1. Starter Panel
When you start Cytoscape, you can access basic functions from the Starter Panel:
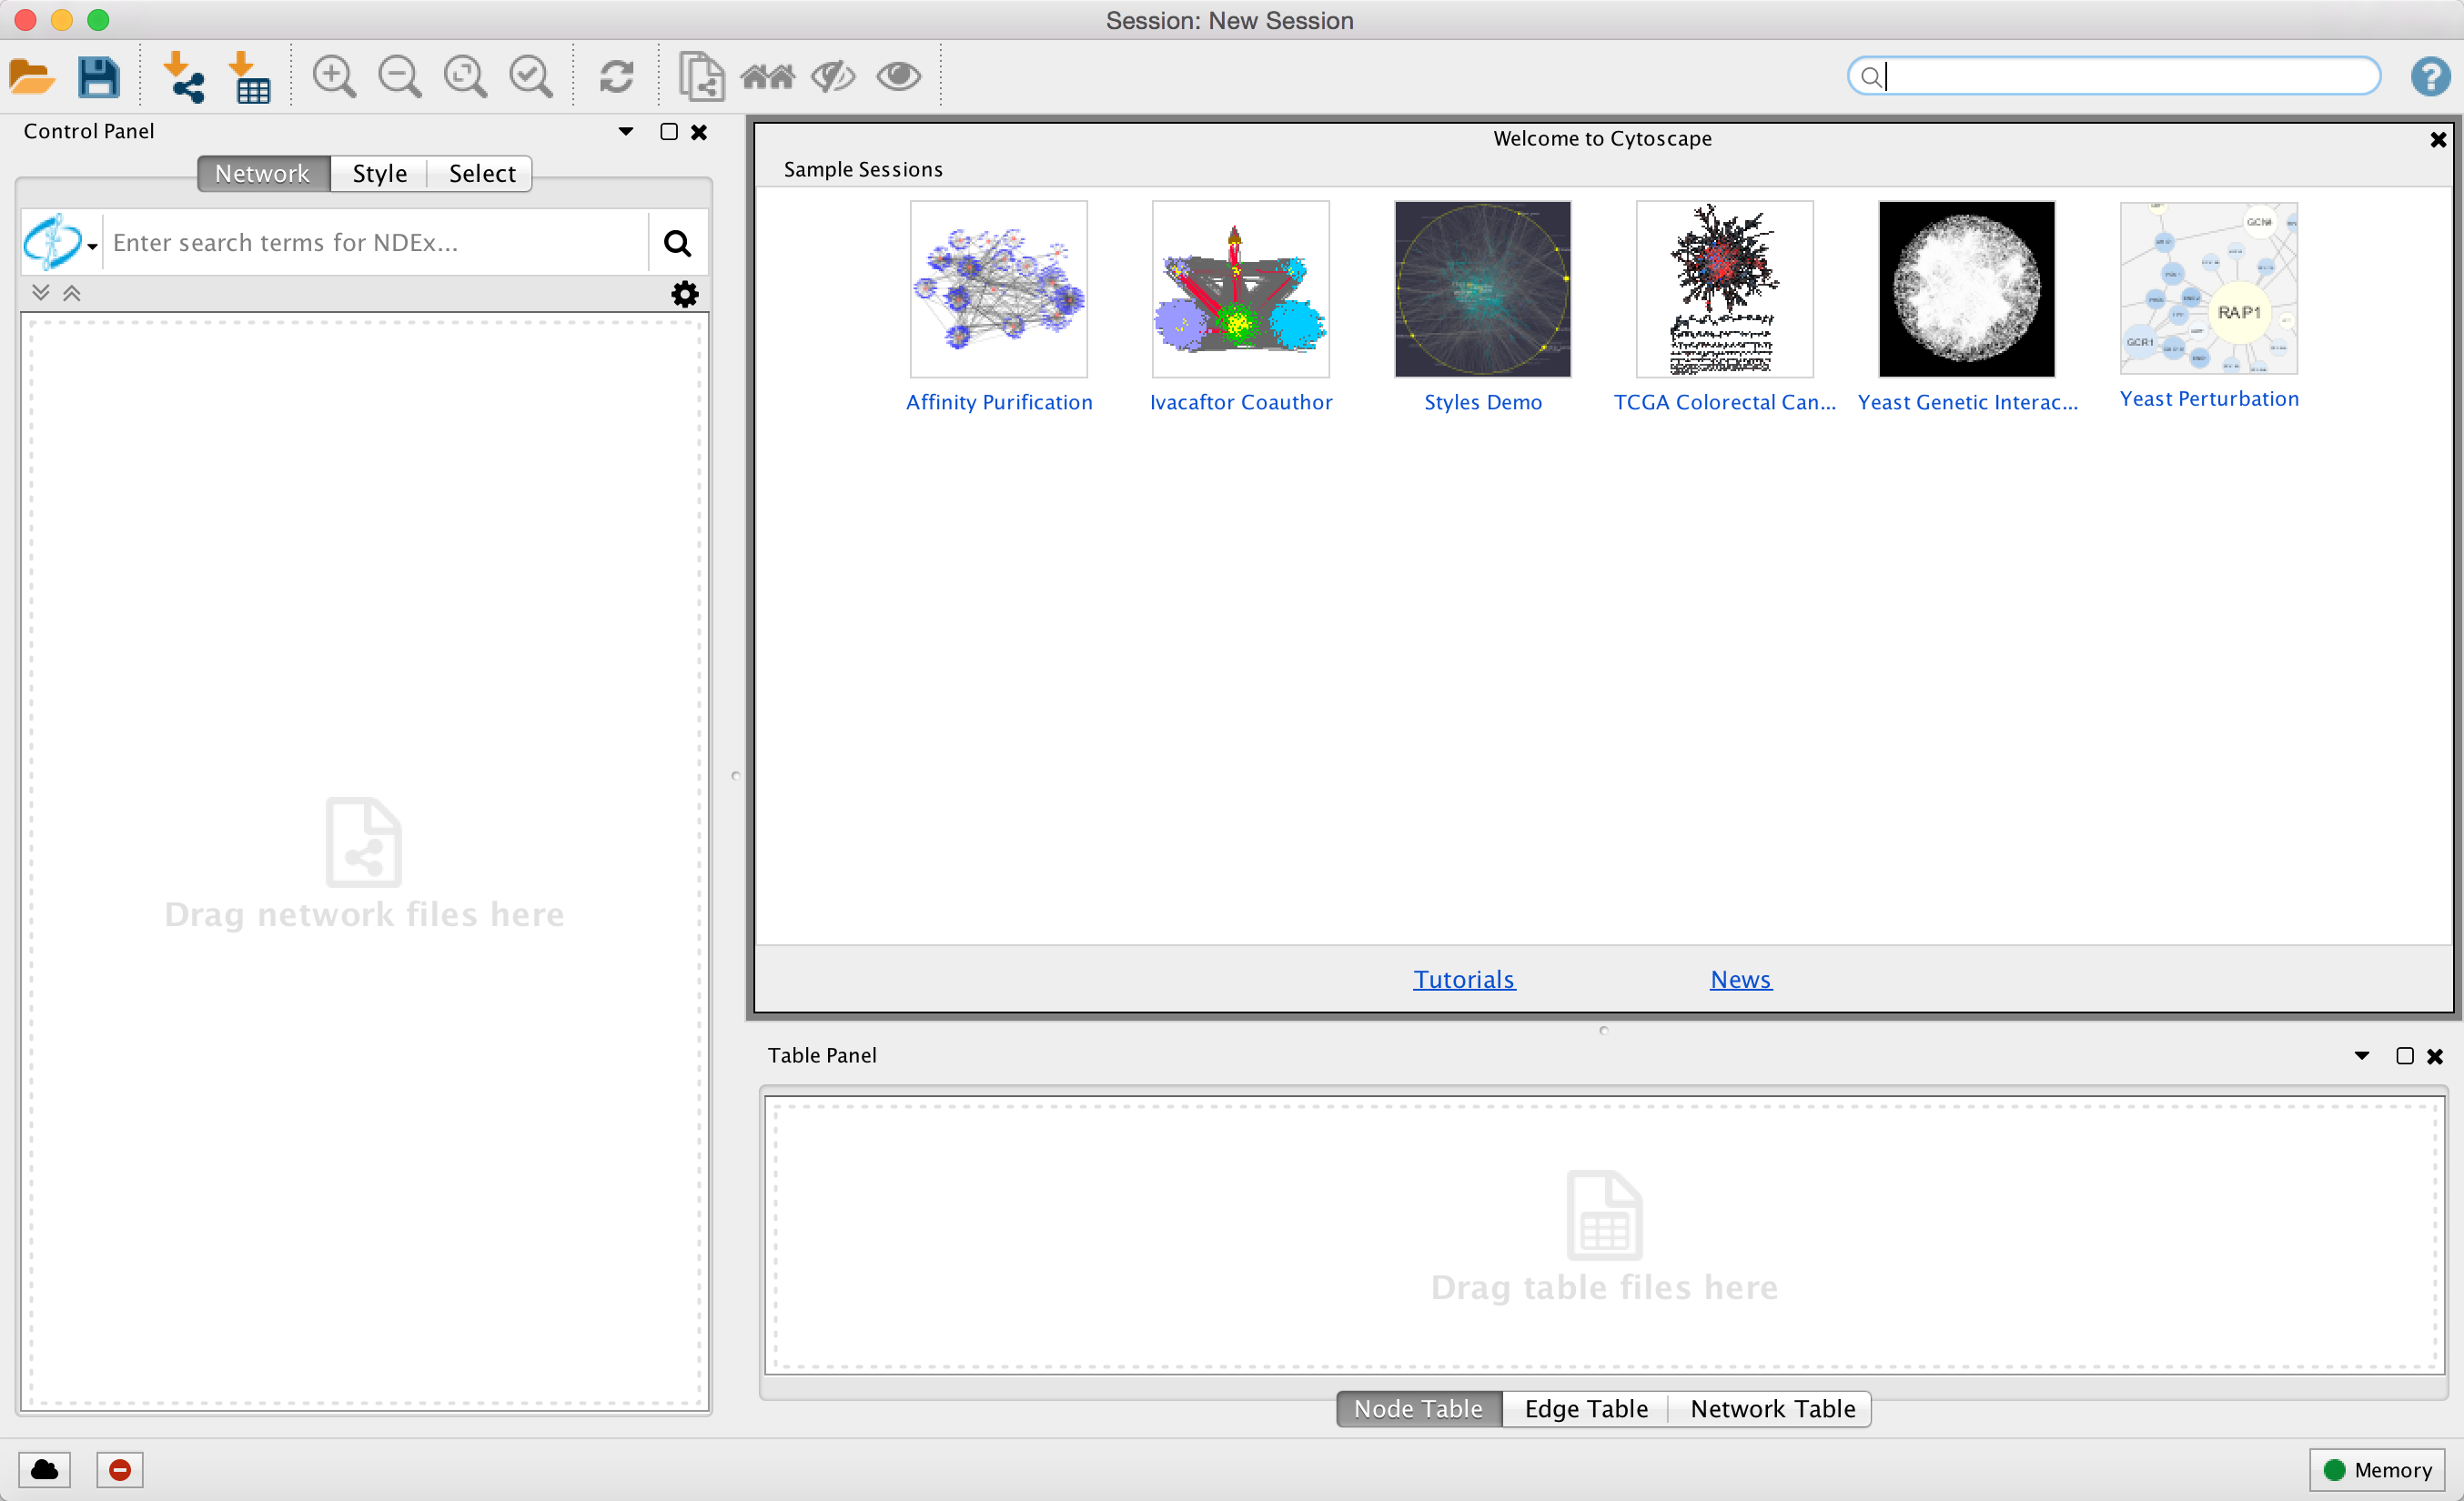
The Starter Panel is designed to give you quick access to a set of sample session files, as well as tutorials and Cytoscape news. The sample session files include a broad range of networks to give a sense of the diversity of interaction types, visualization styles and biological applications (see Network Table properties for more information about each sample session network). The Starter Panel will also present your own most recent sessions for quick access.
When you load a session file, the Starter Panel will disappear. You can display it at any time by choosing View → Show Starter Panel.
For information on user privacy, see the Cytoscape Privacy Policy.
4.2. Basic Features
When a network is loaded, Cytoscape will look similar to the image below:
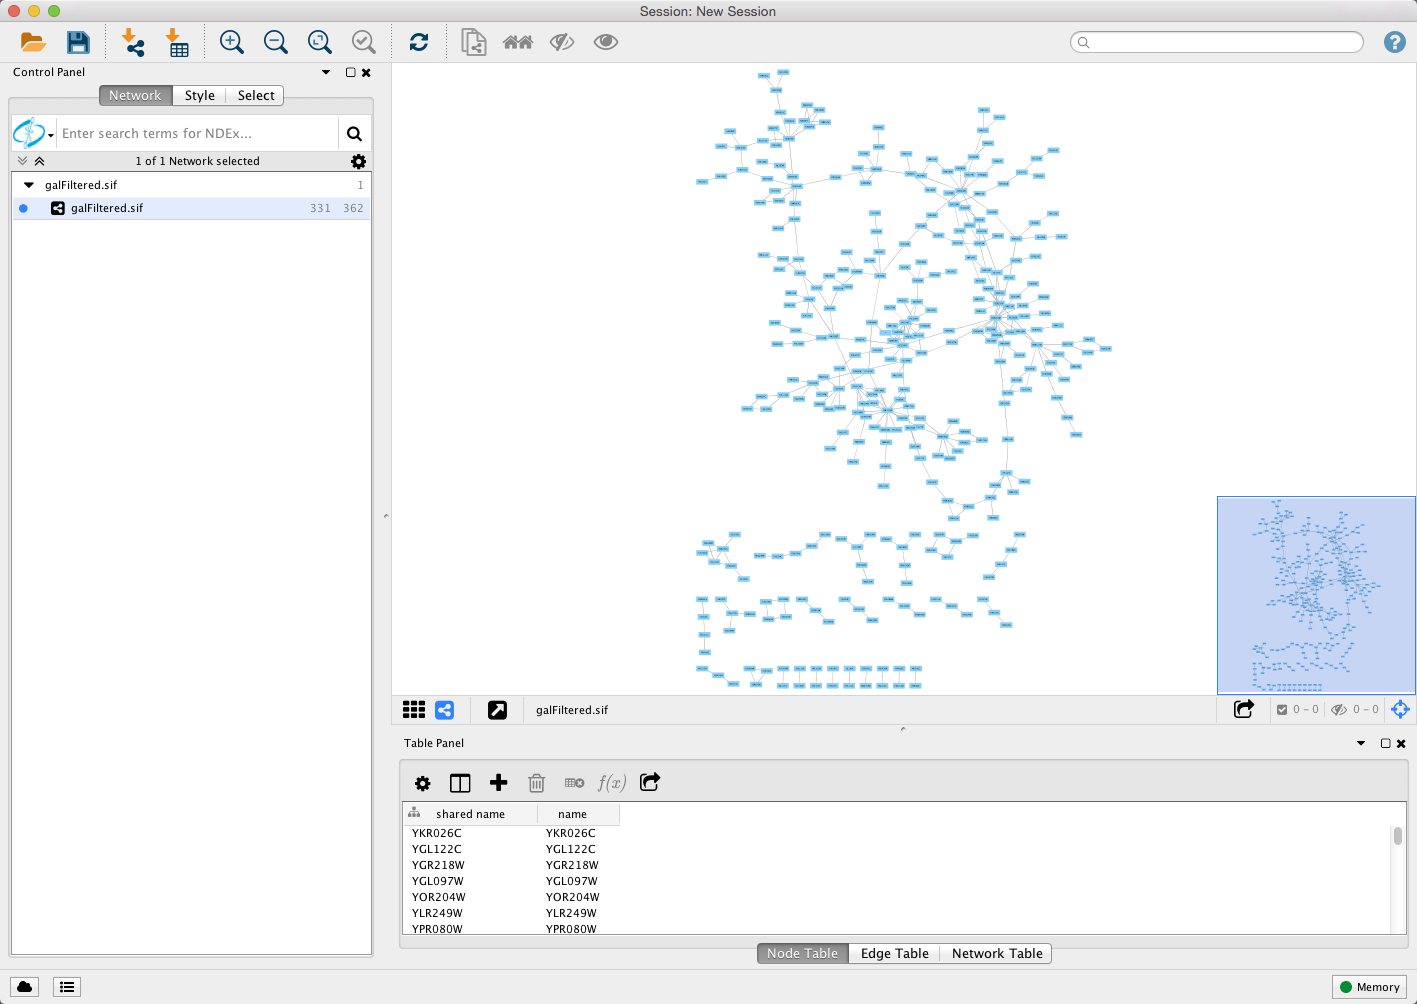
Most functionalities are self-explanatory, but we’ll go through a concise explanation for clarity. The main window here has several components:
- The Menu Bar at the top (see below for more information about each menu).
- The Tool Bar, which contains icons for commonly used functions. These functions are also available via the menus. Hover the mouse pointer over an icon and wait momentarily for a description to appear as a tooltip. Right-clicking on the tool bar allows the contents to be customized.
- The Network Panel (Network tab of the Control Panel, top left). At the top of the Network Panel is a Search bar, with direct access to multiple external resources. The network panel also contains an optional network overview pane (shown at the bottom left).
- The main Network View Window, which displays the network.
- The Table Panel (bottom right panel), which displays columns of selected nodes and edges and enables you to modify the values of column data.
The Network Panel and Table Panel are dockable tabbed Panels. You can
undock any of these panels by clicking on the Float Window control
 in the upper-right corner of the CytoPanel. This is useful when you want
assign the network panel as much screen space as possible. To dock the
window again, click the Dock Window icon
in the upper-right corner of the CytoPanel. This is useful when you want
assign the network panel as much screen space as possible. To dock the
window again, click the Dock Window icon
 .
Clicking the Hide Panel icon
.
Clicking the Hide Panel icon
 will hide the panel; this can be shown again by choosing View → Show
and selecting the relevant panel.
will hide the panel; this can be shown again by choosing View → Show
and selecting the relevant panel.
If you click this control, for example on the Table Panel, you will now have two Cytoscape windows, the main window, and a new window labeled Table Panel, similar to the one shown below. A popup will be displayed when you put the mouse pointer on a cell.
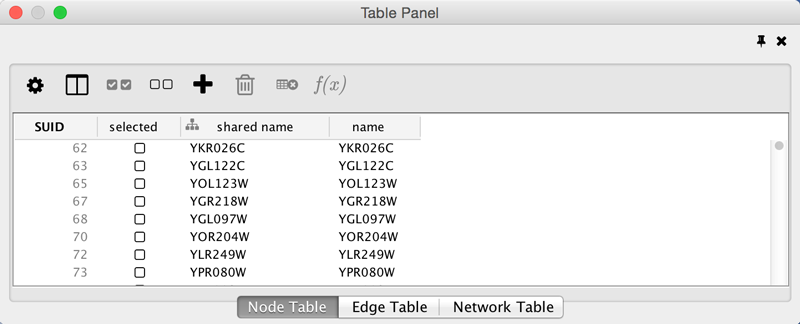
Note that Table Panel now has a Dock Window control. If you click this control, the window will dock onto the main window. For more information on the panels in Cytoscape, see the Panels section.
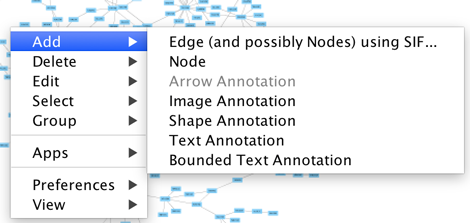
Network Editing
Cytoscape also has an edit functionality that enables you to build and modify networks interactively within the network canvas. To edit a network, just right-click on the open space of network window, select the menu item Add → Node, a new node will be added to the canvas. To add an edge, right click on a node, choose the menu item Edit → Add Edge. Then select the target node, a new edge will be added between the two nodes. In a similar way annotation objects can be added; pictures, shapes or textboxes; much like in MS PowerPoint or similar software. Detailed information on network editing can be found in the Editing Networks section.
4.3. The Menus
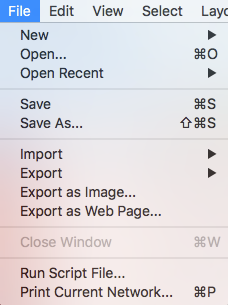
File
The File menu contains most basic file functionality: File → Open for opening a Cytoscape session file; File → New for creating a new network, either blank for editing, or from an existing network; File → Save for saving a session file; File → Import for importing data such as networks and tables; and File → Export for exporting data. File → Export as Image lets you export the network in either JPEG, PDF, PNG, PostScript or SVG format. File → Export as Web Page lets you export the entire session or a single network as a Web page using Cytoscape.js.
File → Recent Session will list recently opened session files for quick access. File → Run allows you to specify a Cytoscape script file to run, and File → Print Current Network... allows printing.
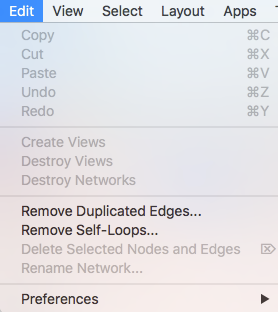
Edit
The Edit menu contains Cut, Copy and Paste functions, as well as Undo and Redo functions which undo and redo edits made in the Table Panel, the Network Editor and to layout.
There are also options for creating and destroying views (graphical representations of a network) and networks (the raw network data - not yet visualized), as well as an option for deleting selected nodes and edges from the current network. All deleted nodes and edges can be restored to the network via Edit → Undo.
There are also other editing options; Remove Duplicated Edges will delete edges that are duplicates (having the same source and target nodes), keeping one edge, Remove Self-Loops removes edges that have the same source and target node, and Delete Selected Nodes and Edges... deletes a selected subset of the network. Rename Network... allows you to rename the currently selected network.
Editing preferences for properties and apps is found under Edit → Preferences → Properties.... More details on how to edit preferences can be found here.
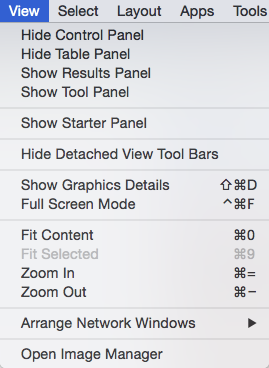
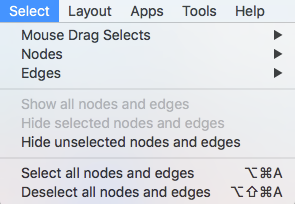
View
The View menu allows you to display or hide the Control Panel, Table Panel, Tool Panel and the Result Panel. It also provides the control of other view-related functionality.
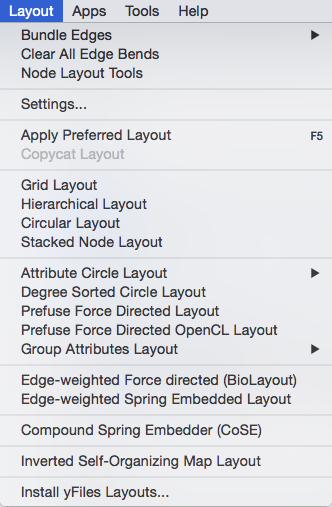
Layout
The Layout menu has an array of features for visually organizing the network. The features in the top portion of the network (Bundle Edges, Clear Edge Bends, Rotate, Scale, Align and Distribute) are tools for manipulating the network visualization. The bottom section of the menu lists a variety of layout algorithms which automatically lay a network out.
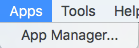
Apps
The Apps menu gives you access to the App Manager (Apps → App Manager) for managing (install/update/delete) your apps and may have options added by apps that have been installed. Depending on which apps are loaded, the apps that you see may be different than what appear here. The below picture shows a Cytoscape installation without installed apps.
Note: A list of available Cytoscape apps with descriptions is available online at: http://apps.cytoscape.org
In previous versions of Cytoscape, apps were called plugins and served a similar function.
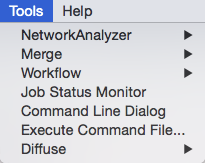
Tools
The Tools menu contains advanced features like the Command Line Dialog, Network Analyzer, Network Merge and Workflow.
Help
The Help menu allows you to launch the online help viewer and browse the table of contents for this manual (Contents).
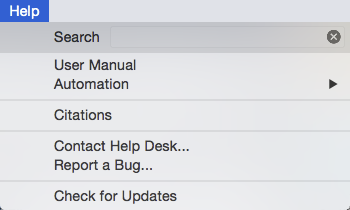
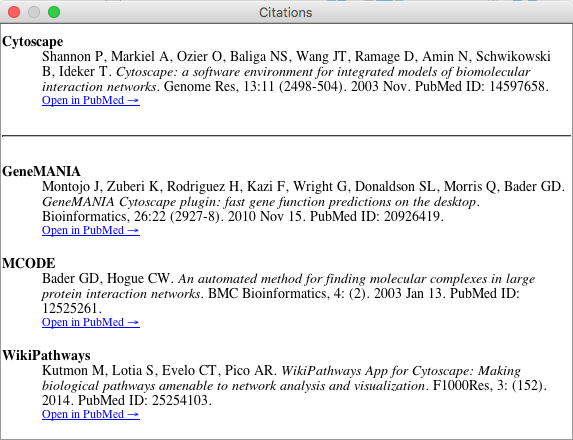
The Citations option displays the main literature citation for Cytoscape, as well as a list of literature citations for installed apps. The list will be different depending on the set of apps you have installed.
The Update Organism Preset Networks option updates the preset networks available on the Welcome screen to the latest version.
The Help menu also allows you to connect directly to Cytoscape Help Desk and the Bug Report interface.
4.4. Network Management
Cytoscape allows multiple networks to be loaded at a time, either with or without a view. A network stores all the nodes and edges that are loaded by the user and a view displays them.
An example where a number of networks have been loaded is shown below:
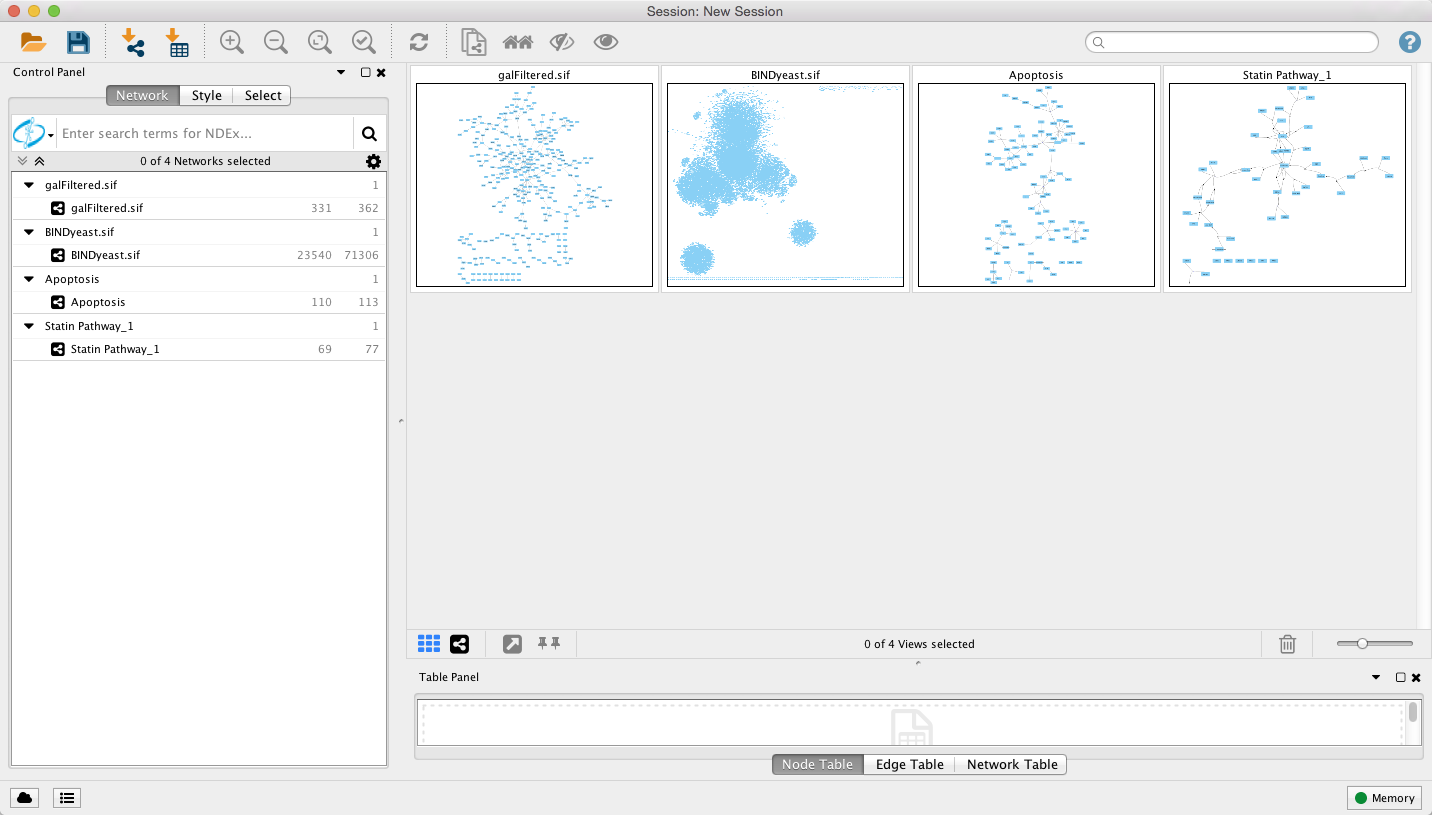
The network manager (in Control Panel) shows the networks that are loaded. Clicking on a network here will make that view active in the main window, if the view exists. Each network has a name and size (number of nodes and edges), which are shown in the network manager. If a network is loaded from a file, the network name is the name of the file.
Some networks are very large (thousands of nodes and edges) and can take a long time to display. For this reason, a network in Cytoscape may not contain a “view”. Networks that have a view are in normal black font and networks that don’t have a view are highlighted in red. You can create or destroy a view for a network by right-clicking the network name in the network manager or by choosing the appropriate option in the Edit menu. You can also destroy previously loaded networks this way.
Certain operations in Cytoscape will create new networks. If a new network is created from an old network, for example by selecting a set of nodes in one network and copying these nodes to a new network (via the File → New → Network option), it will be shown immediately follows the network that it was derived from.
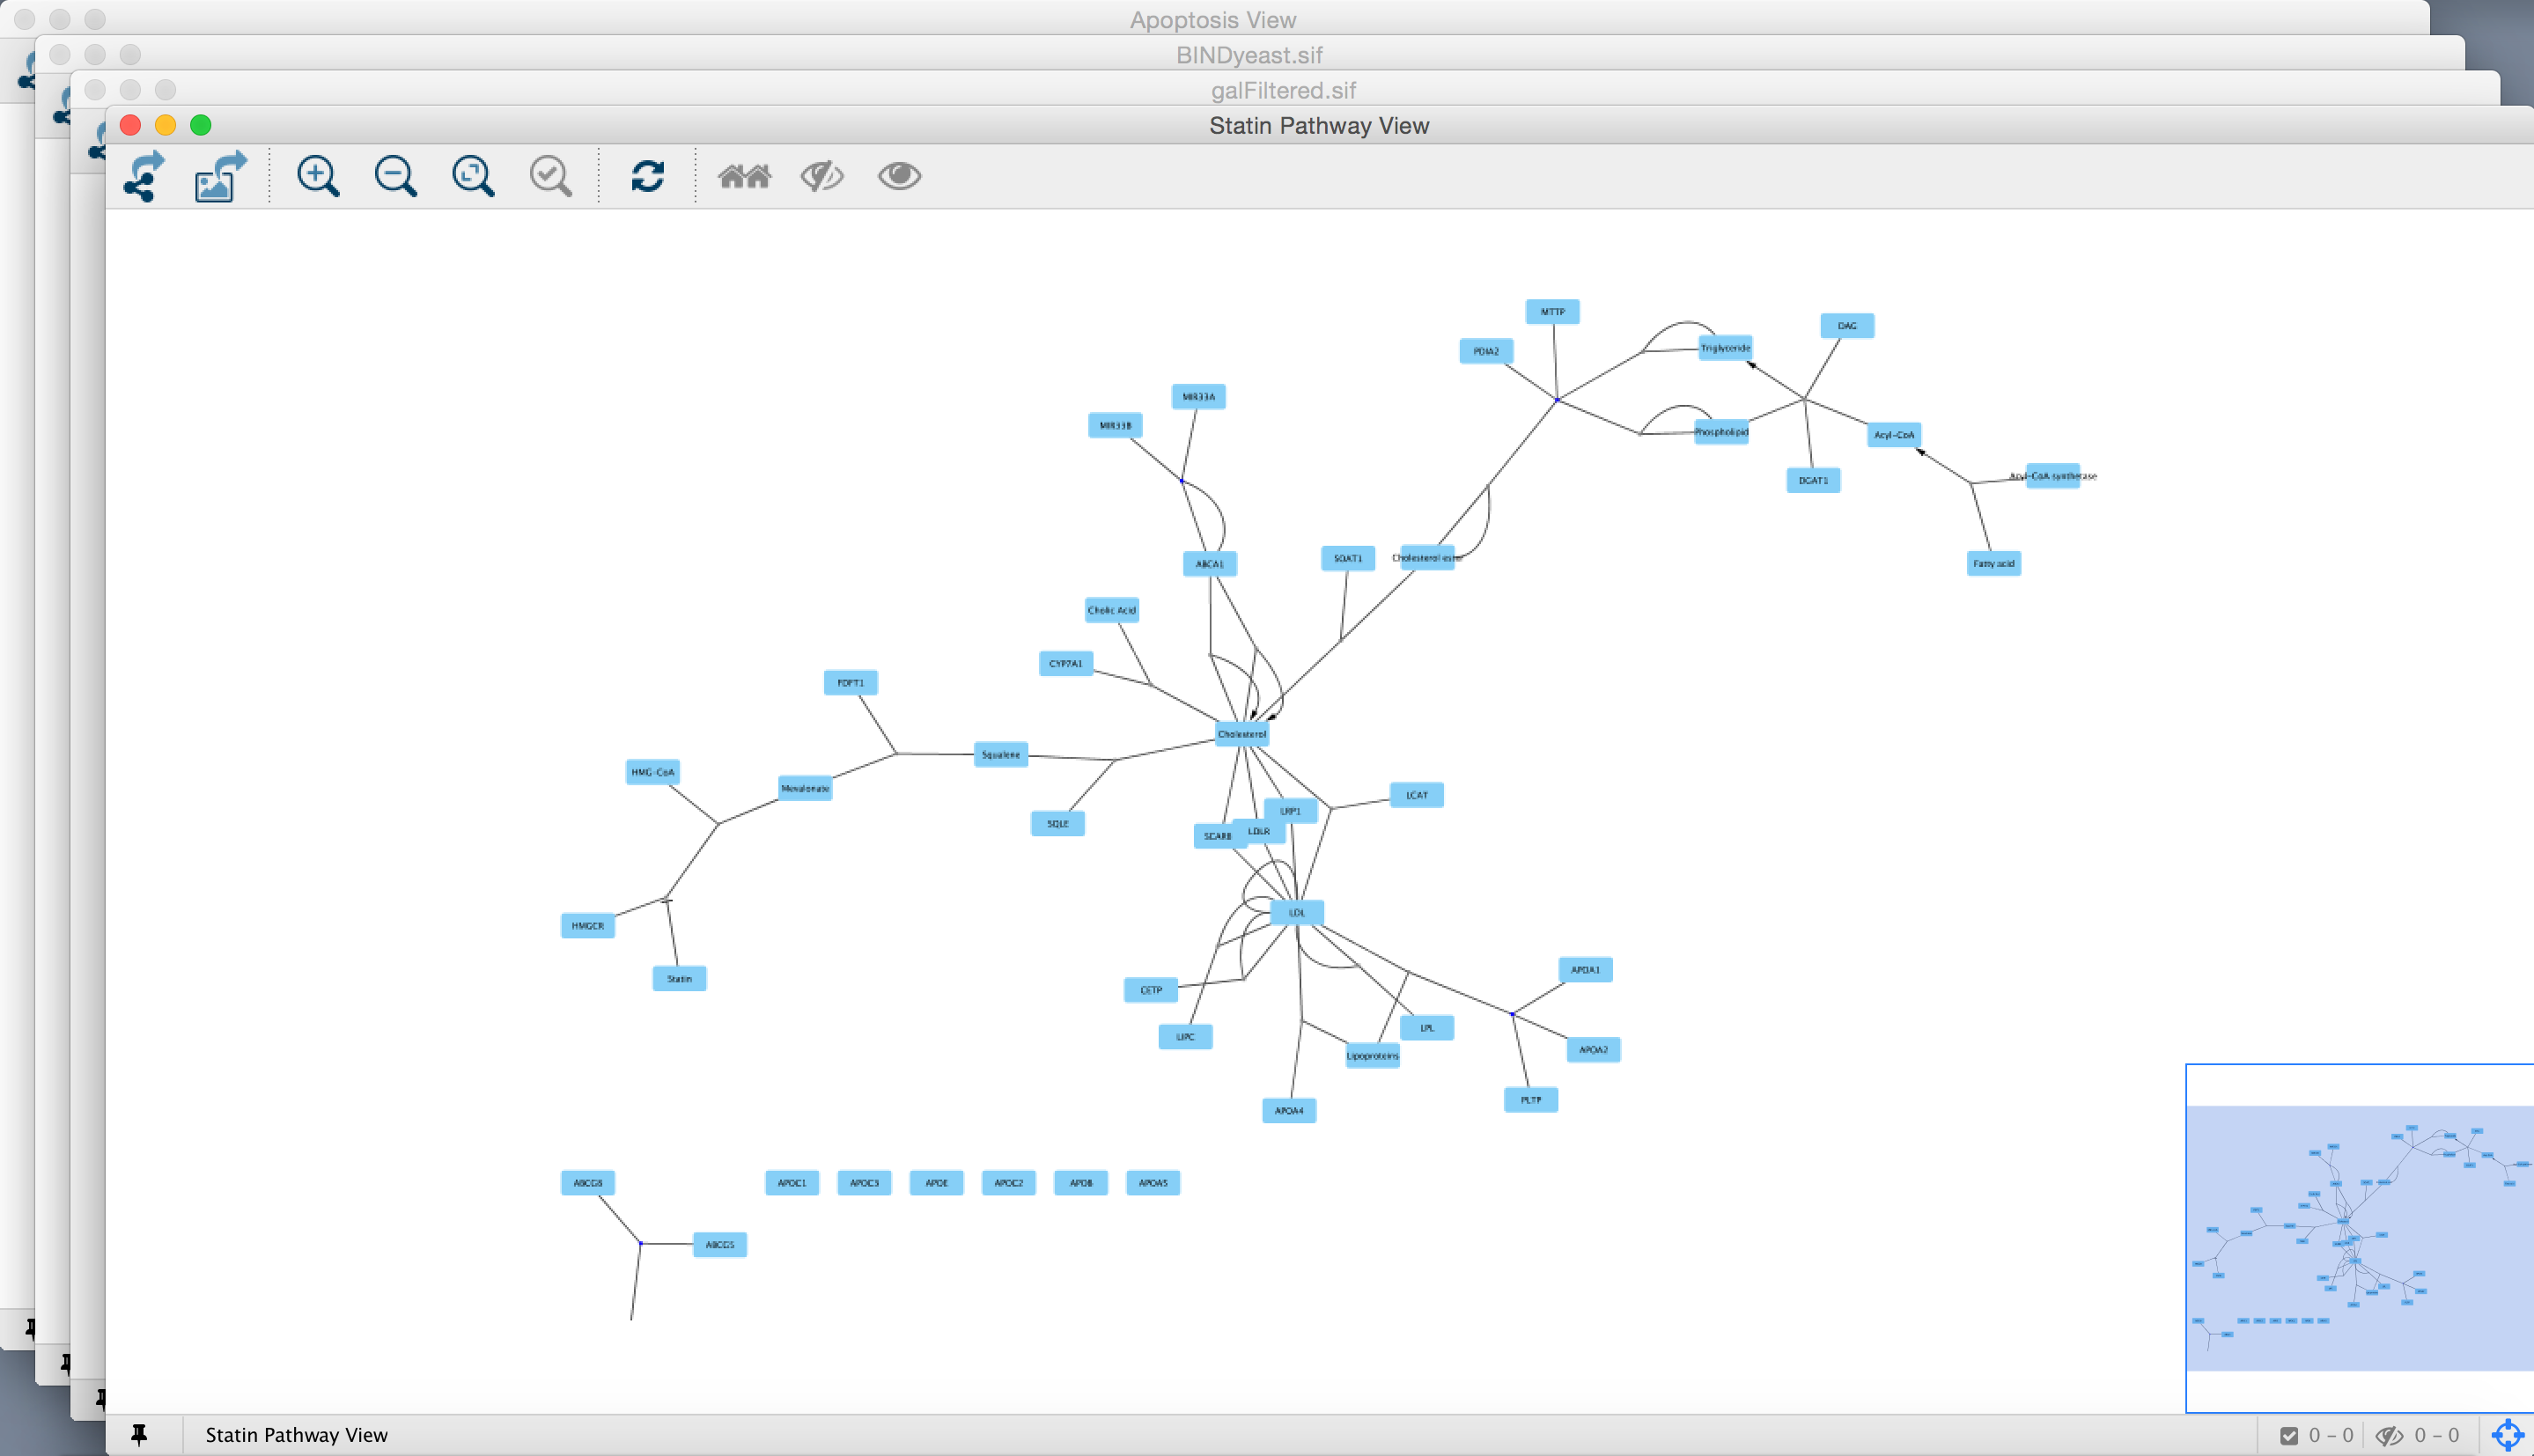
Network views can also be detached (undocked) from the main Cytoscape window. When detached, a view window can be dragged to another monitor, resized, maximized and minimized by using the normal window controls for your operating system. Notice, however, that closing a view window does not destroy it, but simply reattaches it to the Cytoscape window.
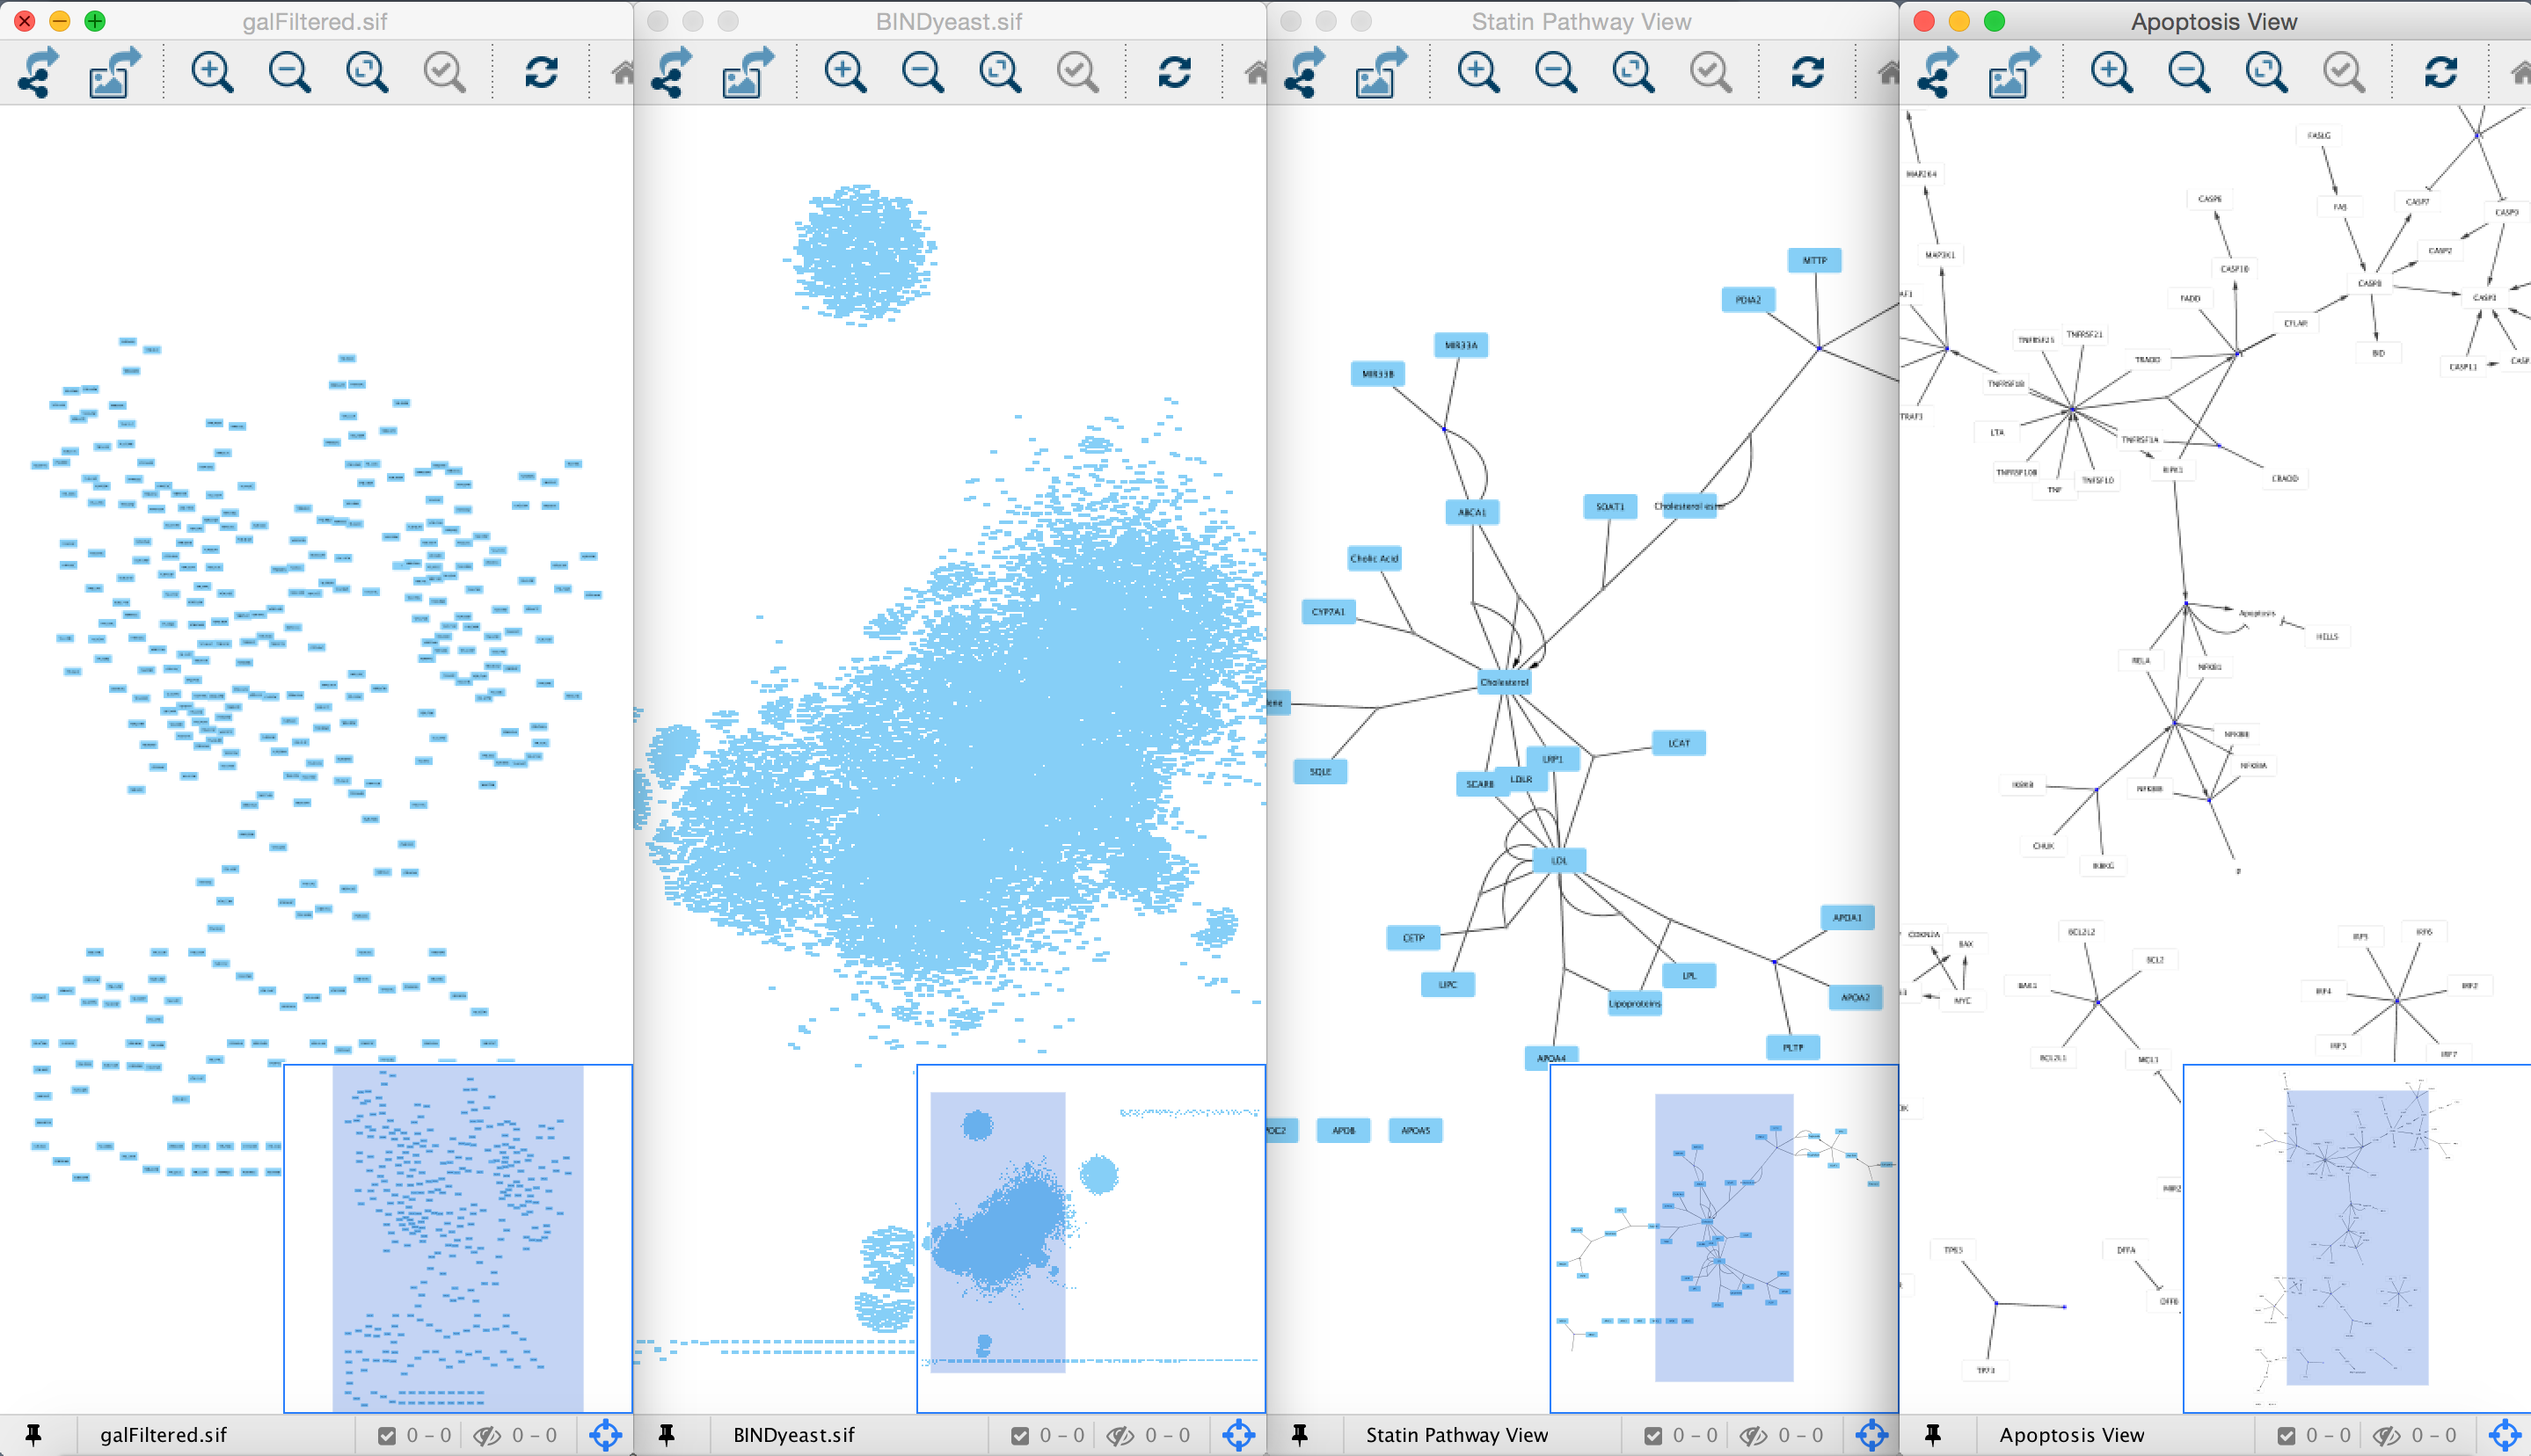
Arrange Network Windows
When you have detached network view windows, you can arrange them by selecting one of these options under View → Arrange Network Windows:
Grid
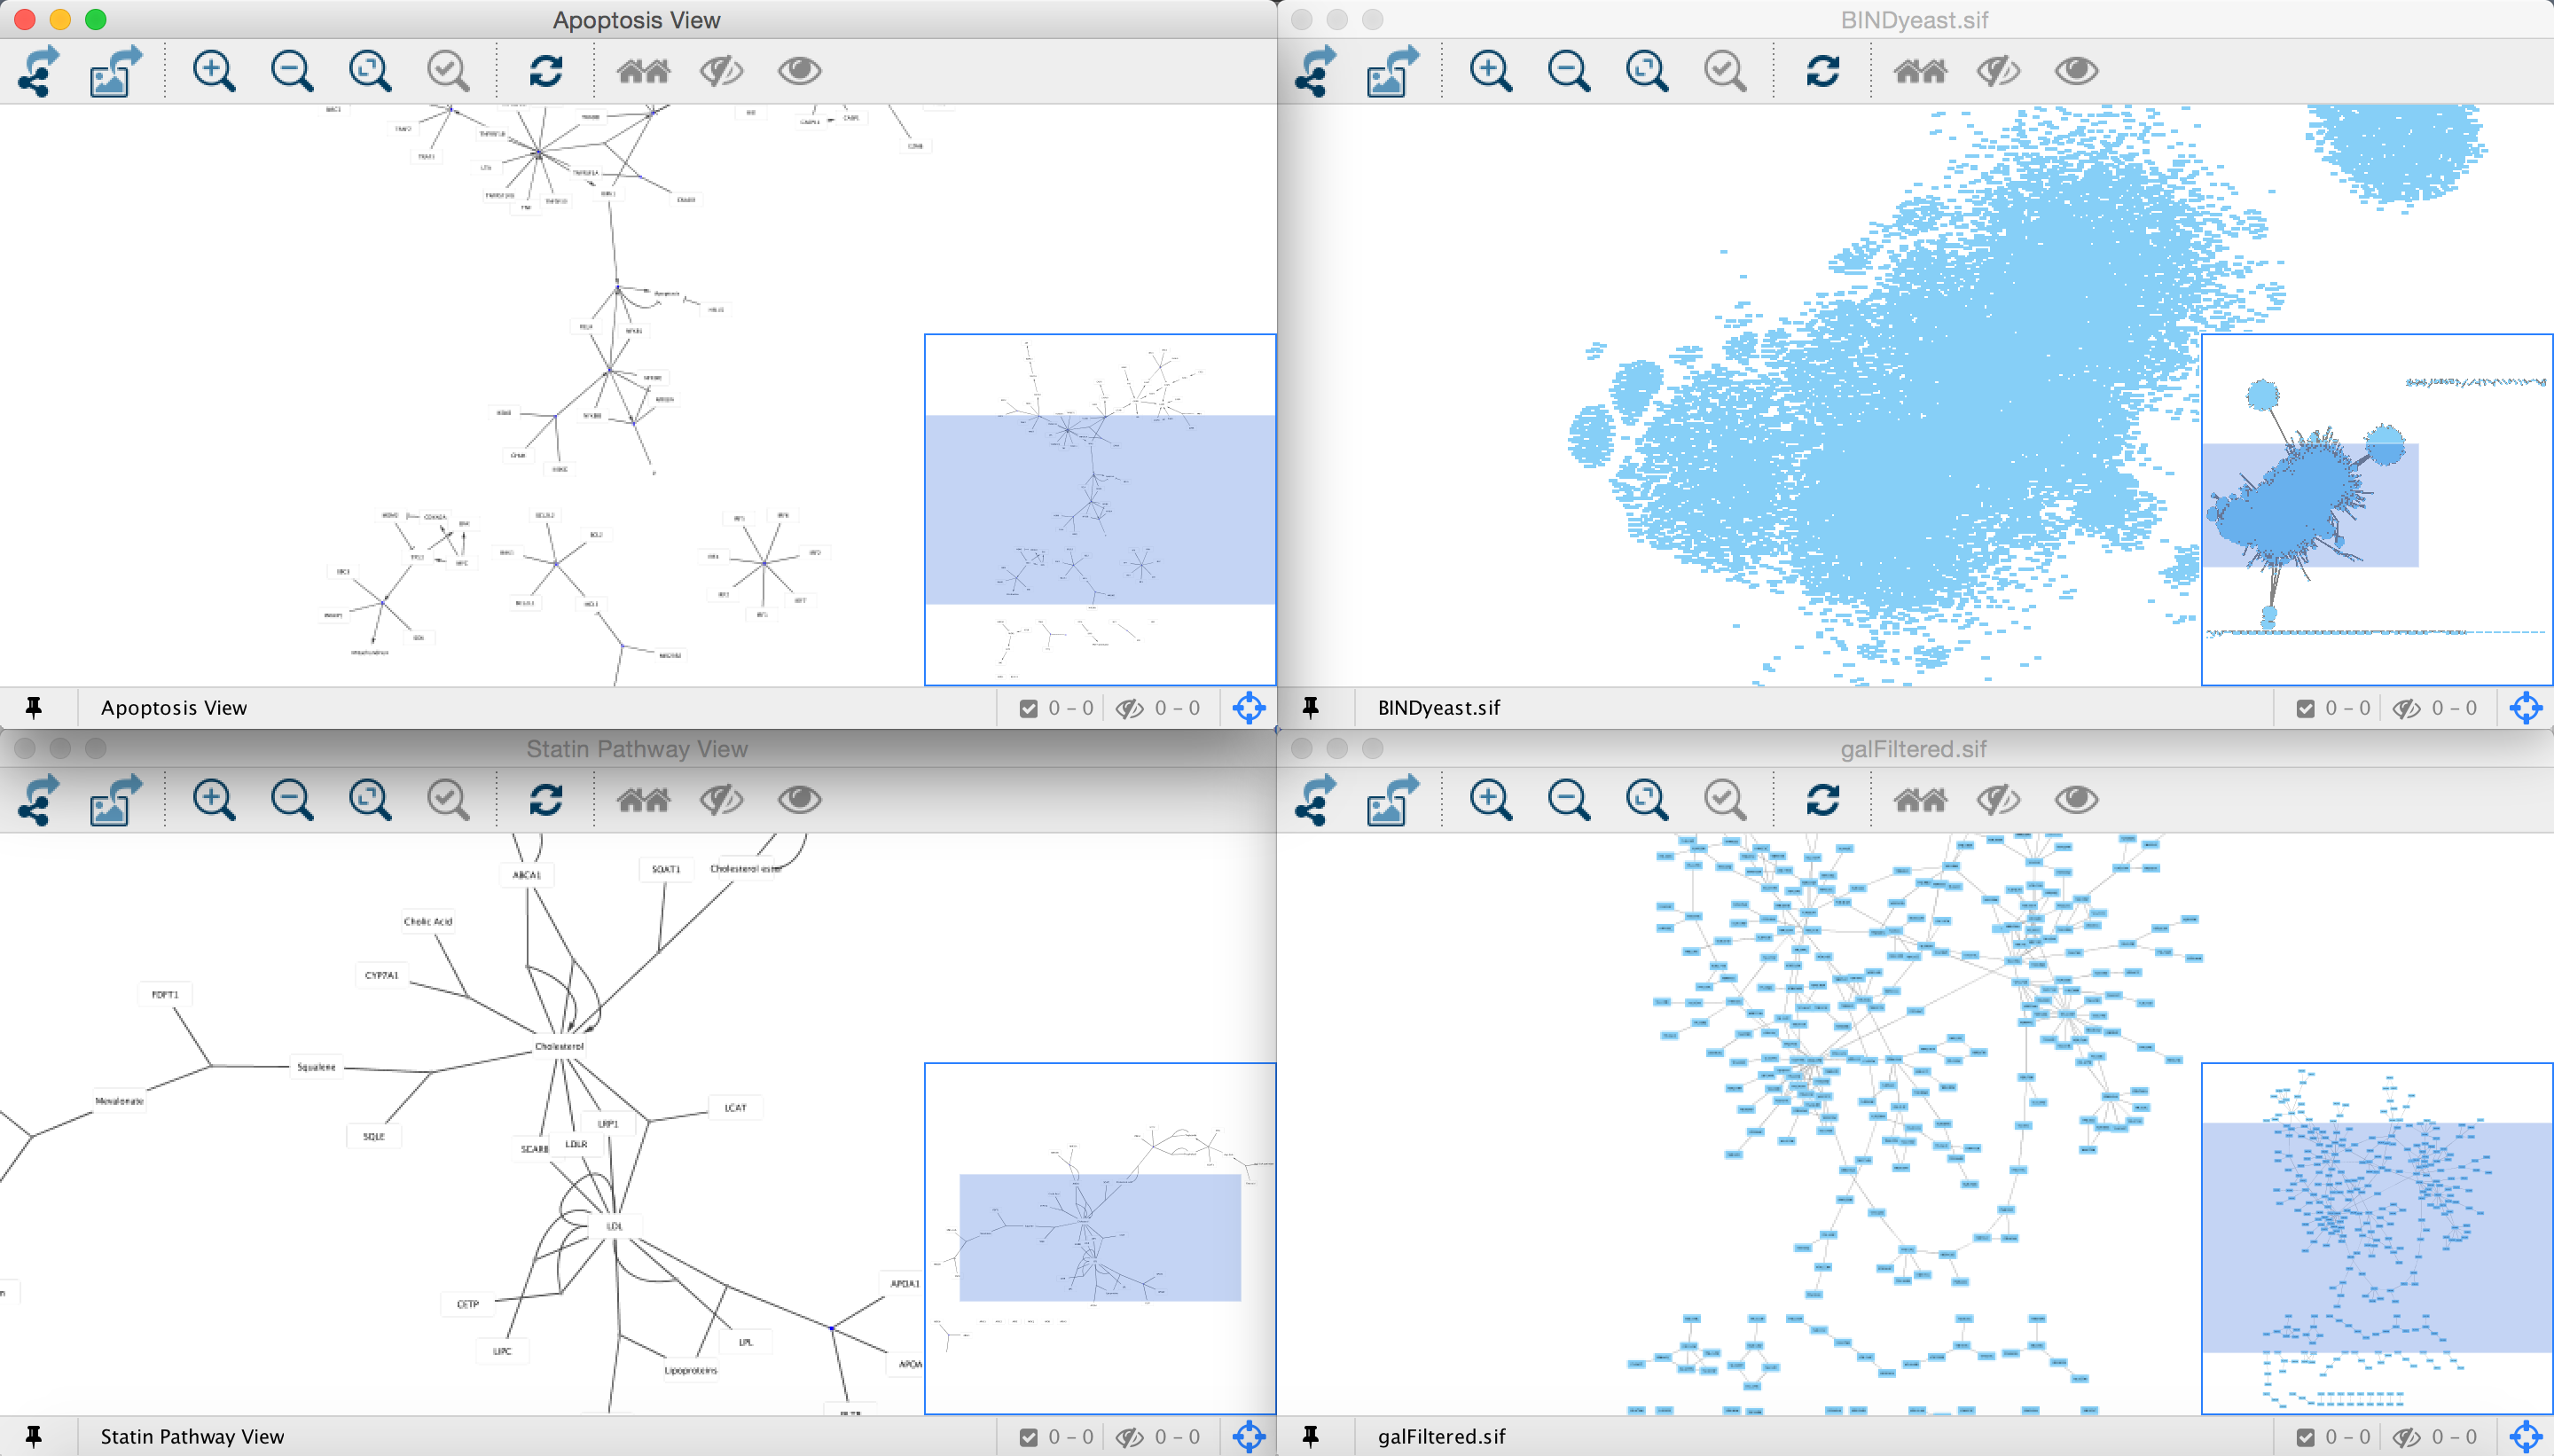
Cascade
Vertical Stack
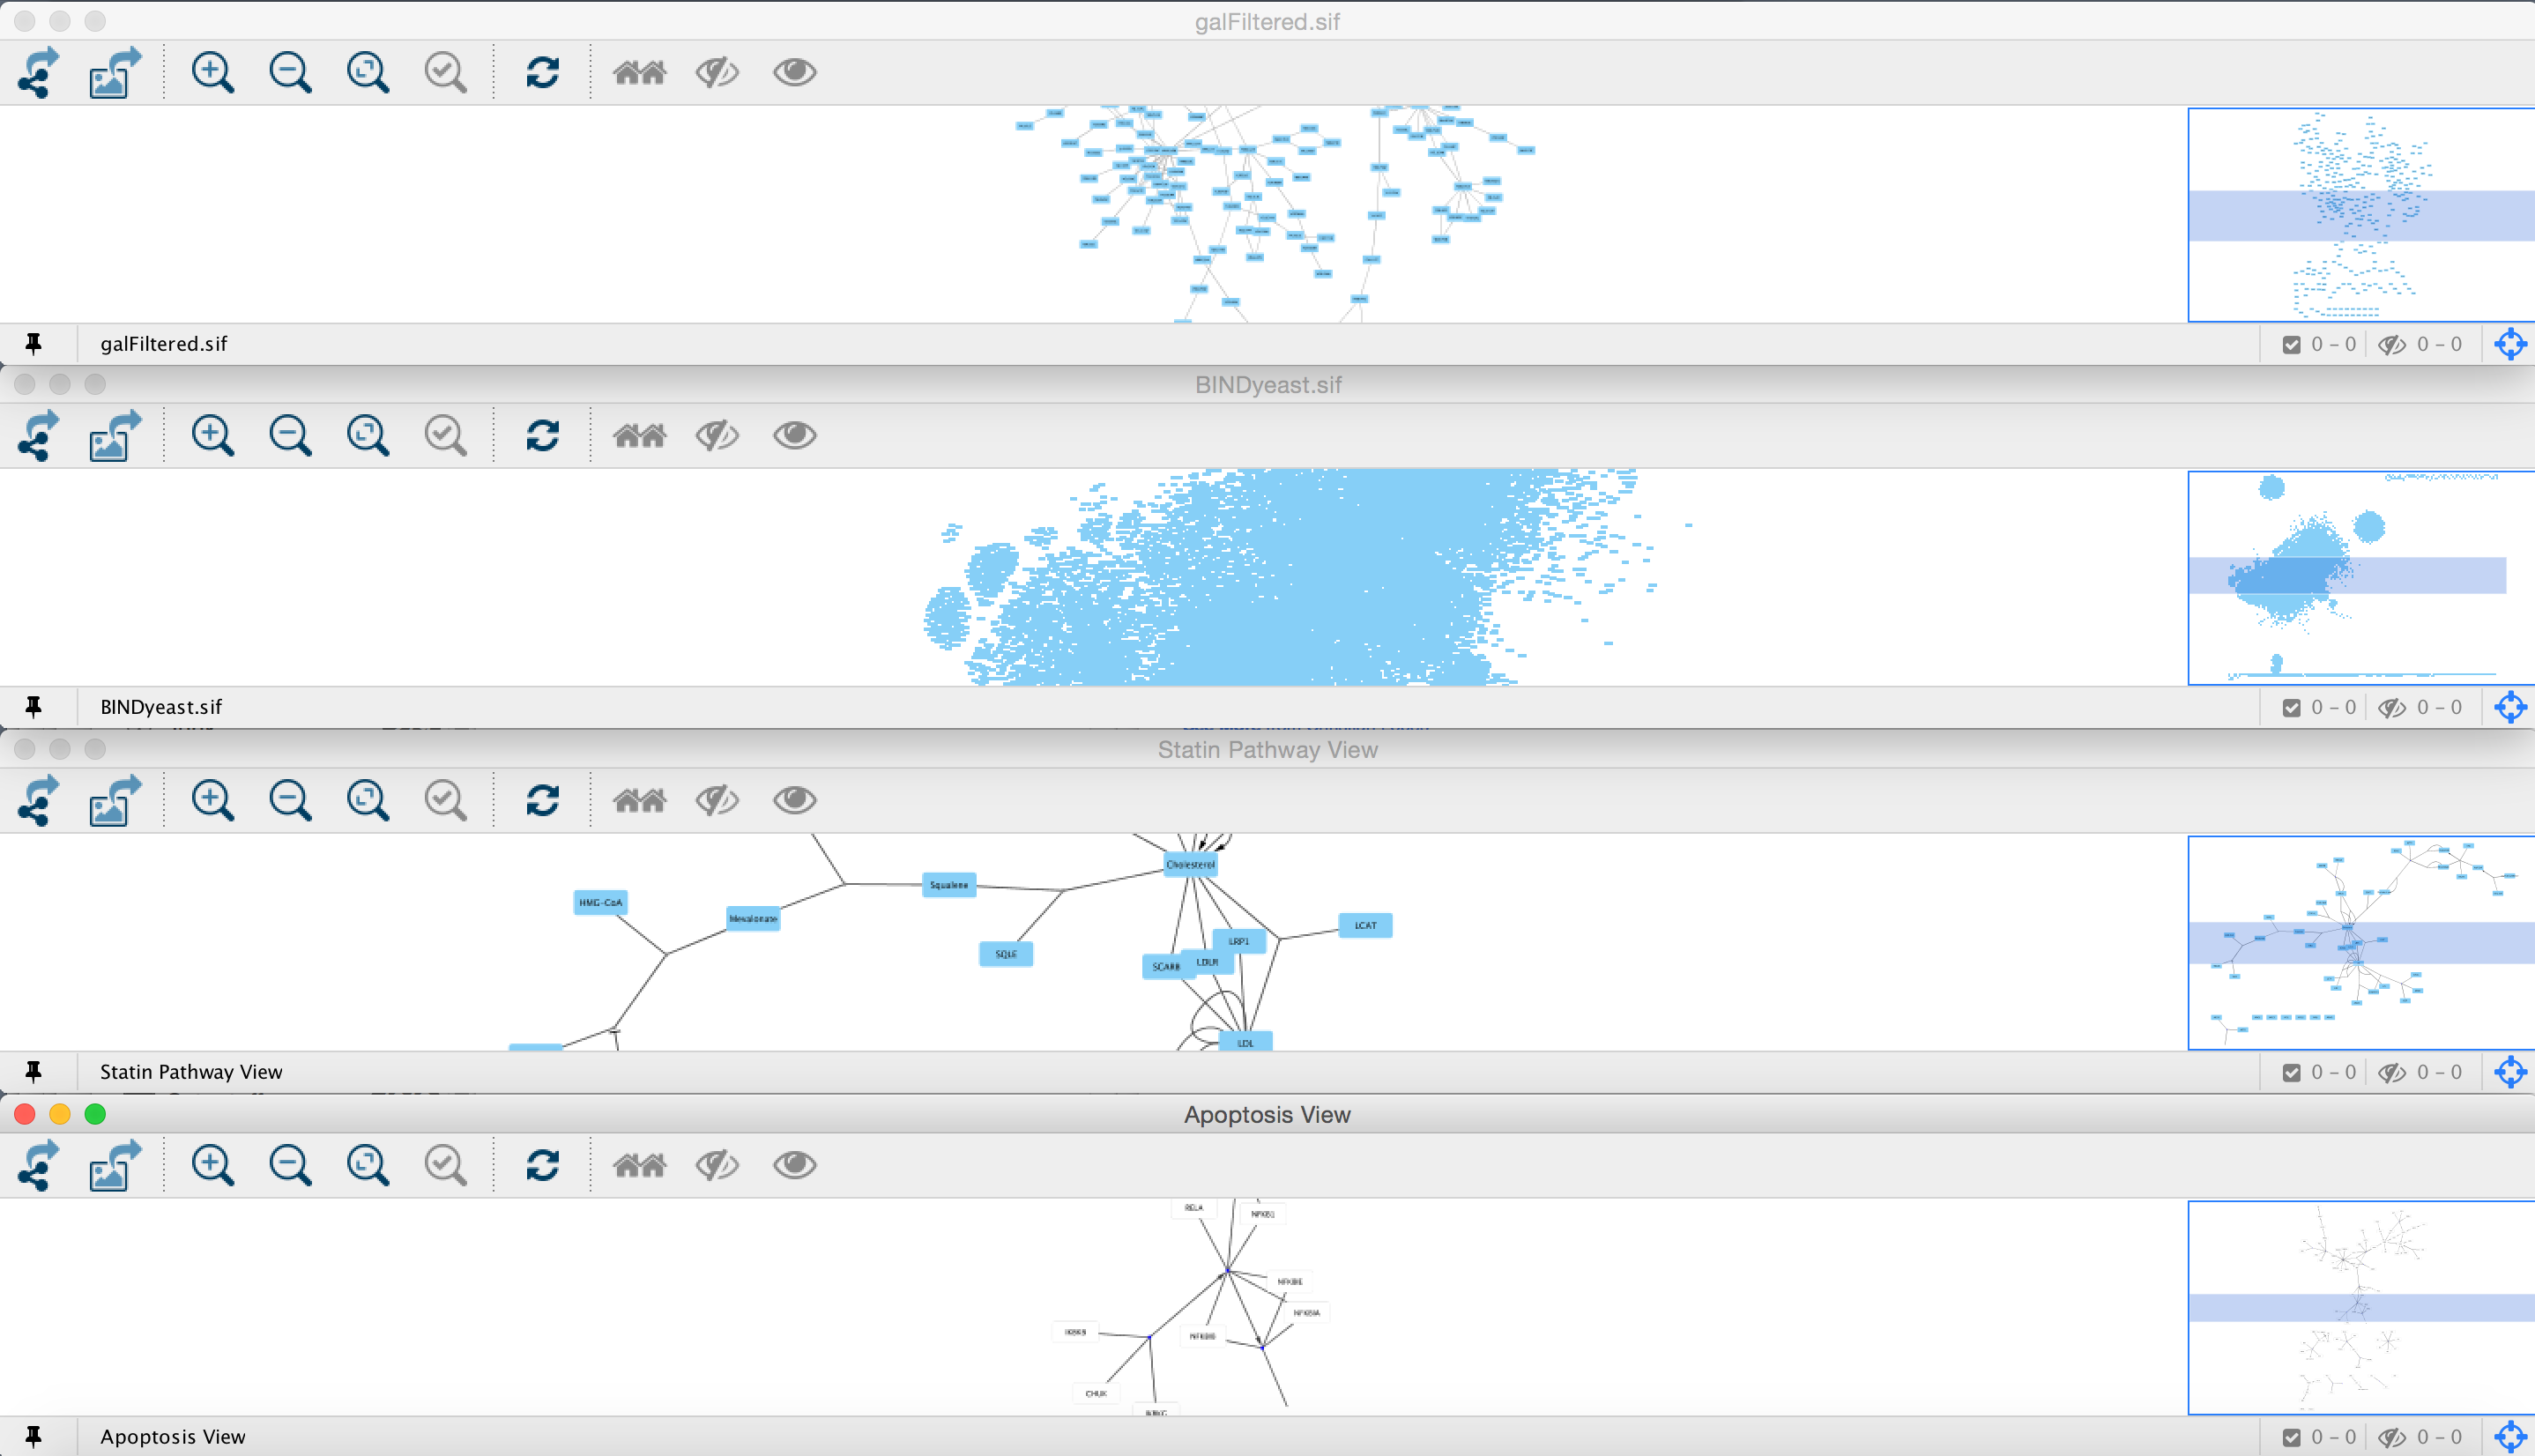
Side by Side
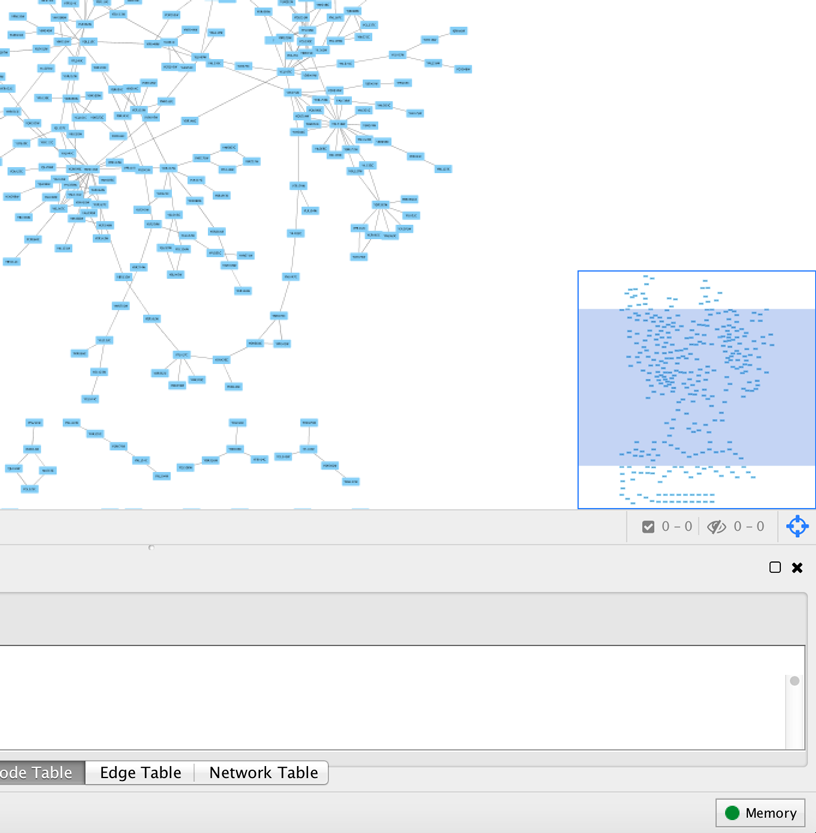
4.5. The View Navigator
The View Navigator (or “bird’s eye view”) is a control that shows an overview of the network.
It can be used to navigate around a large network view. The
blue rectangle indicates the portion of the network currently displayed
in the network view window, and it can be dragged with the mouse to view
other portions of the network. Zooming in will cause the rectangle to
appear smaller and vice versa. You can show or hide it by clicking the “Show/Hide Navigator” button  or pressing the key “N”.